by Cathy Baker | Faith |
by Cathy Baker
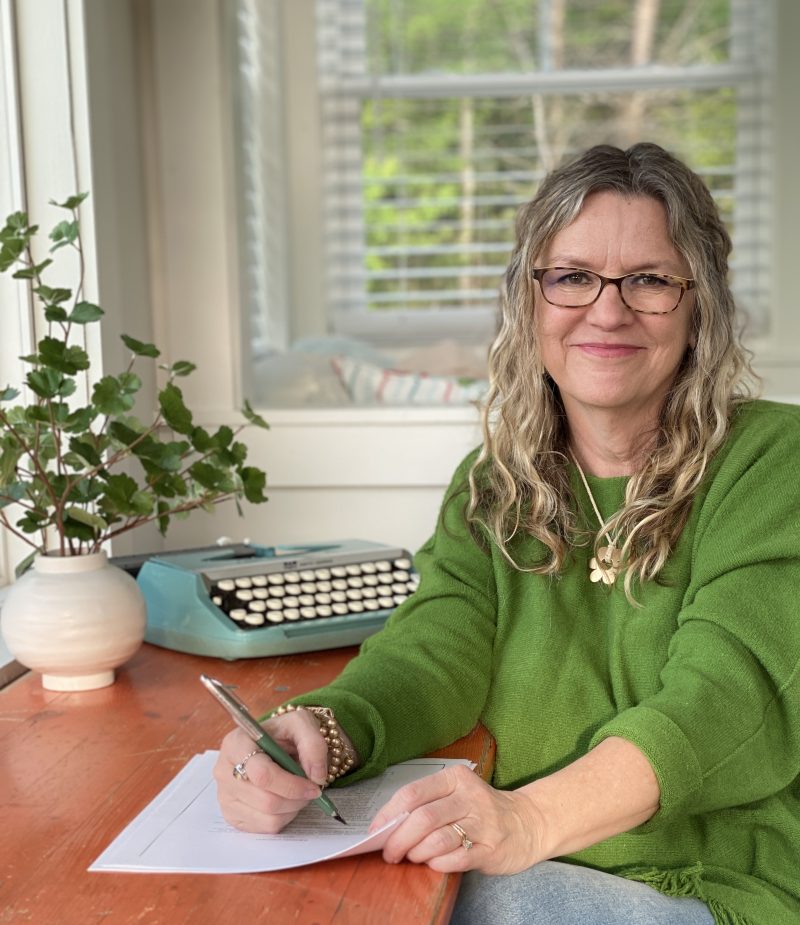
There we were, the three of us, playing on the aqua blue eyelash rug in the library. Piper, Gabe, and me. On the shelf nearby, sat a freshly framed picture of Judah, our newly adopted son from Uganda.
It was a poignant moment as we sat on a butter-soft rug knowing that my son and daughter-in-law were battling unseen forces for Judah’s freedom flight back to the US. Crucial decisions were taking place that day. I picked up Judah’s picture asking Piper, who will be 4 in November, and Gabe, who’ll soon be 2, if they wanted to pray together for him. I laid Judah’s picture on the rug. One by one, we gently placed our hand on the picture of the one we call our own and did just that.
 |
| The one we call our own. |
I am learning that when prayers collide, regardless of place or age, there is a powerful force at work. His name is Jesus.
“For where two or three are gathered in my name, there am I among them.”
Matthew 18:20
One last thing I’m learning as we close out this month’s series: Based on the elaborate displays in Barnes and Noble we are never too old to color! If you would like to enter the random drawing for this “adult” coloring book on Joy by Valentina Harper, simply fill in the blank via the comment section! Winner will be announced on Wednesday, September 9th.
One thing I’m currently learning is _________________________________________.
|
| Purchased at Barnes and Noble |
by Cathy Baker | Faith |
by Cathy Baker
I hate clutter but you wouldn’t know if you knocked on my front door today. It would instead appear as a lifelong friend making itself right at home in any corner it pleases.
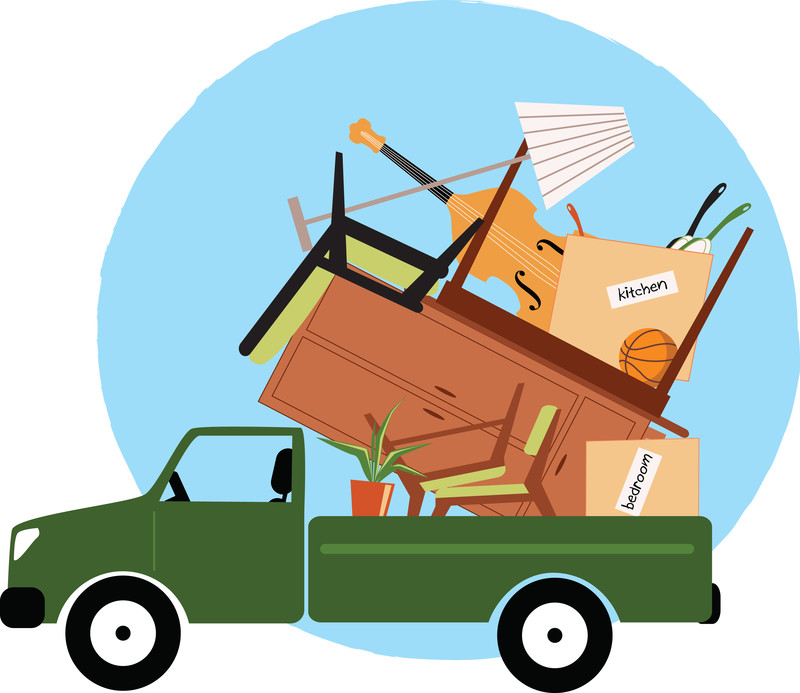
Little does it know, a plan is being set in motion to pack its bag and cart it off to the closest Goodwill. (Brian, ignore the stand-up bass loaded in the truck below.)
So why have I allowed books to nestle in the corners and a multitude of notes to scatter on multiple surface tops? I get overwhelmed—quickly! But you know what they say…
If you keep doing the same thing, then you will keep getting the same results.
I plan to share my decluttering strategy in more details down the road. Today, I share three unique questions that will lead the way:
- If I were shopping right now, would I buy this? Talk about a fresh perspective!
- Does it fit me or my current living space? I face the prospect of getting rid of my, shall I say, “spacier” clothes? That’s a lot of clothes but holding onto them signals my willpower that it’s okay if I gain my weight back. It’s not okay.
- Is the only thing that’s keeping me from disposing of this item is that I don’t want to waste money? This is a biggie. I’m learning that the ironic part of this argument is that our “stuff” often ends up costing us much more in the end — mentally and physically. There’s upkeep, the worry of someone knocking on the door which could result in two hazards: (1) our stacks will topple and (2) someone will see our stacks topple, and a whole host of other effects of clutter.
Okay, that’s all the transparency I can handle for one day.
Which of the three questions above would motivate you most to jump on the decluttering junk wagon?
(To read the source (Popsugar, Emily Co.) for the above questions in its entirety, click here.)
“That is why I tell you not to worry about everyday life–whether you
have enough food and drink, or enough clothes to wear. Isn’t life more
than food, and your body more than clothing?” Matthew 6:25
by Cathy Baker | Faith |
by Cathy Baker
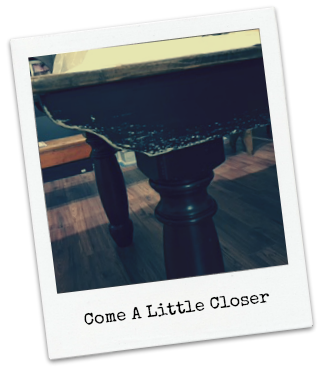
The task was daunting for someone like me. Knowing how I want something to look is one thing, but getting it there often requires more confidence than I can muster. For instance, painting our farmhouse table legs a distressed white.
But one Fallish morning, it dawned on me that I’m not limited by own knowledge, or lack thereof. Pinterest and similar sites are just a tap away! What’s the worst that could happen? I could always slap a coat of black back on the legs if needed.
Chalk paint or no chalk paint? Gloss, semi-gloss, or flat? I was inundated with hundreds of options. Then, the pins parted, revealing one of my now favorite sites — Love Grows Wild. Liz’s option was simple. So simple, in fact, that I had everything but the paint on hand. Score.
What do you need?
Vaseline
Paint and brush
Damp rag
My version below will give you a glimpse into the process. When I did this last year I didn’t think to document my progress so these are just random photos taken along the way. To read Liz’s tutorial, visit her post on distressing here.
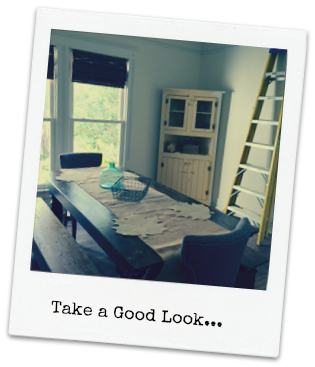
To ensure I’d like the new white distressed legs, I held up a white sheet of paper against the dark tabletop. I also googled images to snatch additional ideas. How could we survive thrive without Pinterest?
Okay, that’s self-explanatory, but hopefully you agree I made the right choice painting the legs white.
I began by painting a flat gray color over the black to add a layer beneath the white. This way, when distressed with the sandpaper block, gray would show through instead of black. The sweet part of this deal was the paint guy at Lowes took a flat black and simply added white to the mix until it hit the tint of gray I desired. The flat black paint was a return so I saved a few bucks which was, however, promptly spent at Starbucks on the way home.
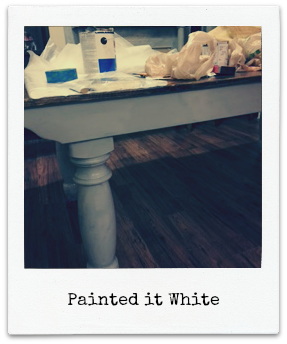
BEFORE painting it white, I applied Vaseline, as Liz states in her tutorial. I smoothed it out with my finger, mostly around edges where natural distressing would occur over time. A few times I took my damp rag and whisked away at the edges in hopes of producing a more natural look. Remember! Wherever the Vaseline is, the overlay of paint (white, in my case) will not adhere well, so apply carefully. I painted two coats of white, waited until it was dry to touch, and then went back with a lightweight piece of sandpaper, gently sweeping across the less-adhered areas. It worked beautifully!
I chose to live with a lightly distressed table for awhile since I can always go back and distress it more. We’ve lived with it now for almost a year and still love it.
I’m learning that I can do things if I’m willing to have a teachable spirit…and follow tutorials by Liz from Love Grows Wild.
What’s something you’ve done that you didn’t think you could do?
by Cathy Baker | Faith |
by Cathy Baker | Faith |
by Cathy Baker
Greetings! Today, I’m sharing how I bring a blog post to fruition, as well as what I’m learning along the way. Some parts of the process are more fun than others, but make no mistake—churning out regularly scheduled blog posts each week is hard work. But it’s worth it. Here goes!
It all begins with coffee and complementary music. I write upstairs by the window but it’s muggy hot in the summer. This fall, I hope to blog from the bench seats in Buttercup, our ’63 Shasta Airflyte camper. Wherever I go, Pandora music follows. Nothing boosts my writing power like George Winston’s station. Did I mention it’s free?
What I’m learning: Writing/blogging in the same spot on a consistent basis alerts the brain that it’s time to stop playing and get to work. I’m also learning that Starbucks Cold Brew provides a swifter kick to my energy level than a latte. Go figure.
Brainstorm. I try to remain aware of how God might prompt a thought or idea. I also plan regular brainstorming sessions with Dee Dee Parker, my go-to stormer. A tiny Moleskin journal (with pen) is tucked in my front purse pocket to fetch promptings, random thoughts, and obscure words. Also, I’m beginning to use Evernote, along with the notes app on my iPhone.
What I’m learning: I need to consolidate my ideas to two places max. Having them scattered in too many places breeds frustration.
Peck away anyway. Sometimes an idea comes quickly and fiercely (love those!) but most take their own sweet time. I type anyway. More often than not, once I begin the process of pecking away at the keys, the idea begins to unfold in unexpected and delightful ways. Also—and yes, this is crazy—unless I use the Trebuchet font while working on a post, the idea tends to cross its arms, pout, and storm off. Silly fonts.
What I’m learning: Mentor and friend, Edie Melson, has advised many of us for years (I’m a slow learner) to first type everything in Word and then upload it to Blogger or WordPress. This prevents the loss of our masterpiece if something goes wonky on the site. {While typing the final few words in this post, my delete button became stuck, erasing all the words one-by-one. Um, Lesson learned.}
Spend quality time titling and formatting the post. I kid no one. I’m no Lori Roeleveld when it comes to titling blog posts. I do, however, try to allow plenty of time for developing the right title. For me, “right” would be pithy and SEO friendly, with a hint of panache. See below.
What I’m learning: I stink at titling. I continue to study online and I’m also learning the importance of SEO (Search Engine Optimization).
Check grammar, photos, and links. Then do it again. I usually save the photo search for last as I enjoy it the most. I currently use some of my own photos but plan to increase that exponentially in the coming months. For now, I pull from Can Stock Photo (buy credits at minimal cost), Pixabay, and other free sites. I’m always looking to promote others via linking in my posts and including them in the Labels section.
What I’m learning: No post is to be published until I’ve read it aloud at least once. Much is learned when reading our work aloud.
When you consider the above quote, what ONE word best describes your idea of a GREAT blog?


